BetaHub Resources

Getting Started with BetaHub: Account Creation and Setup
January 2, 2024 · 4 min read
Welcome to BetaHub, a comprehensive platform for game testing and development. In this guide, we’ll walk you through setting up your BetaHub account and getting your first project off the ground. Don’t forget to check out our accompanying YouTube video for a visual walkthrough!
Step 1: Creating Your Account
BetaHub offers a seamless account creation process. Here’s how to get started:
-
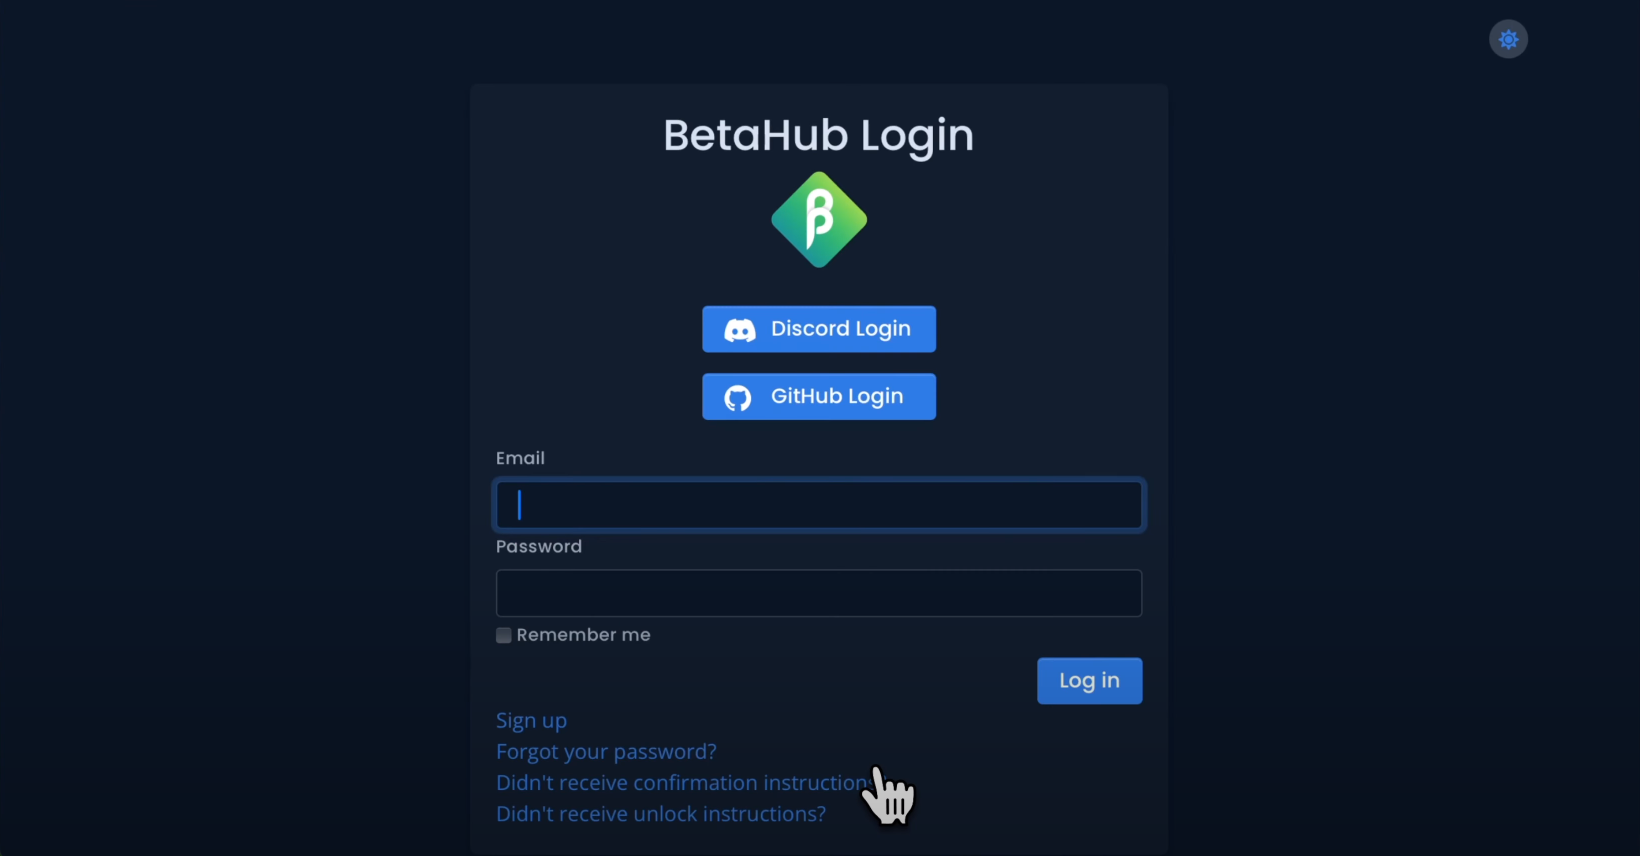
Navigate to BetaHub: Visit app.betahub.io and click on the “Sign In” button.
-
Choose Your Login Method: You can log in via Discord, GitHub, or opt for a traditional registration. For a quick and hassle-free experience, we recommend using Discord.
Step 2: Setting Up Your First Project
Once your account is ready, it’s time to dive into the exciting part - creating your project.
-
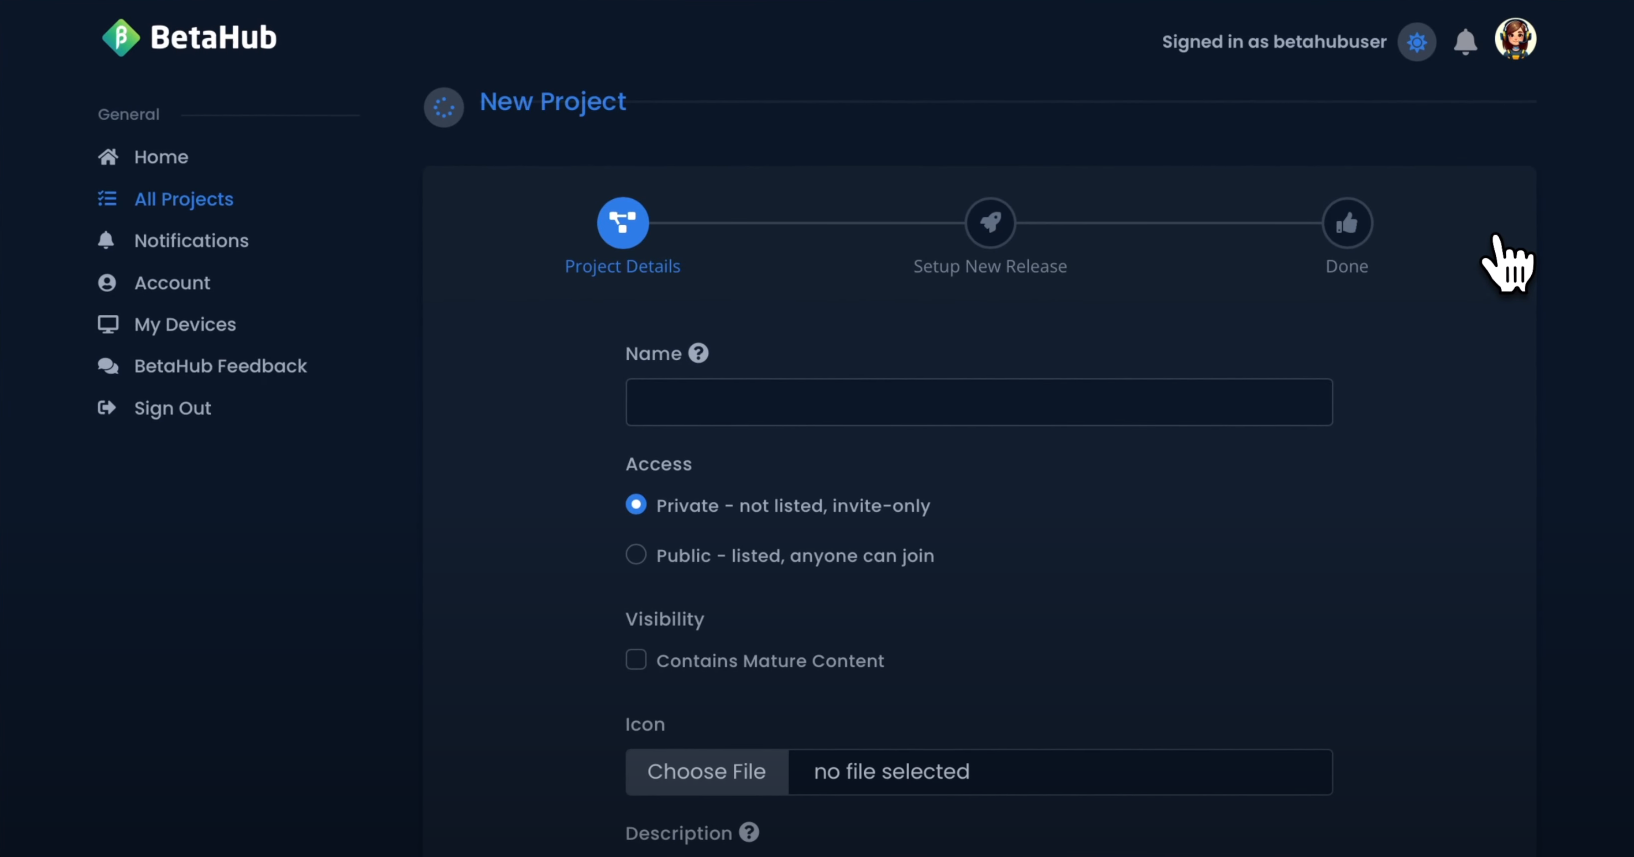
Initiate New Project: On the BetaHub dashboard, click the “Create New Project” button in the Your Projects section.
-
Customize Your Project Settings: Fill in the essential details like your project name and access level (public or private).
-
Personalization: Set your project icon and description. Be sure to include all necessary information about your game here.
-
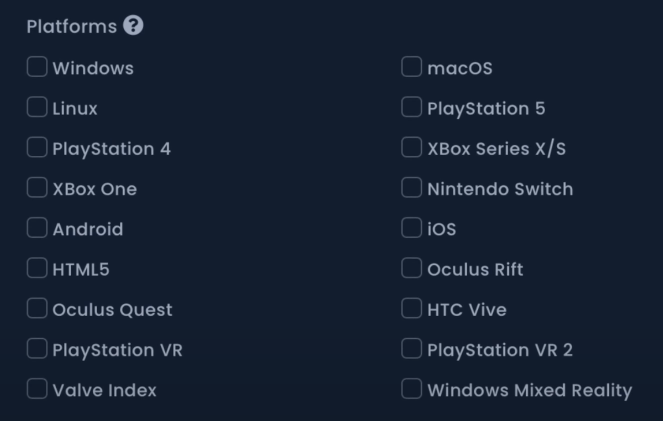
Platform Selection: Specify the platforms where your game is available, enhancing the professionalism and navigability of your project.
Step 3: Configuring Bug Reporting
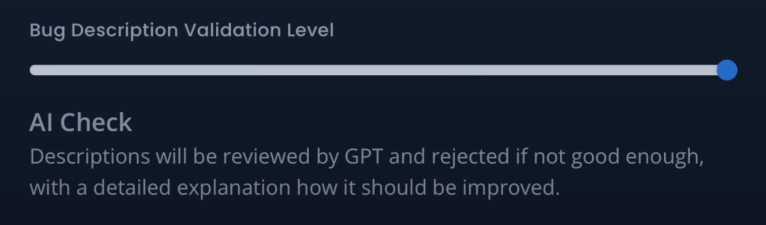
BetaHub’s unique feature, the “Bug Description Validation Level”, allows you to tailor the bug reporting process.
-
Choose Validation Level: Select from automated AI-driven checks, simple length checks, or no verification at all.
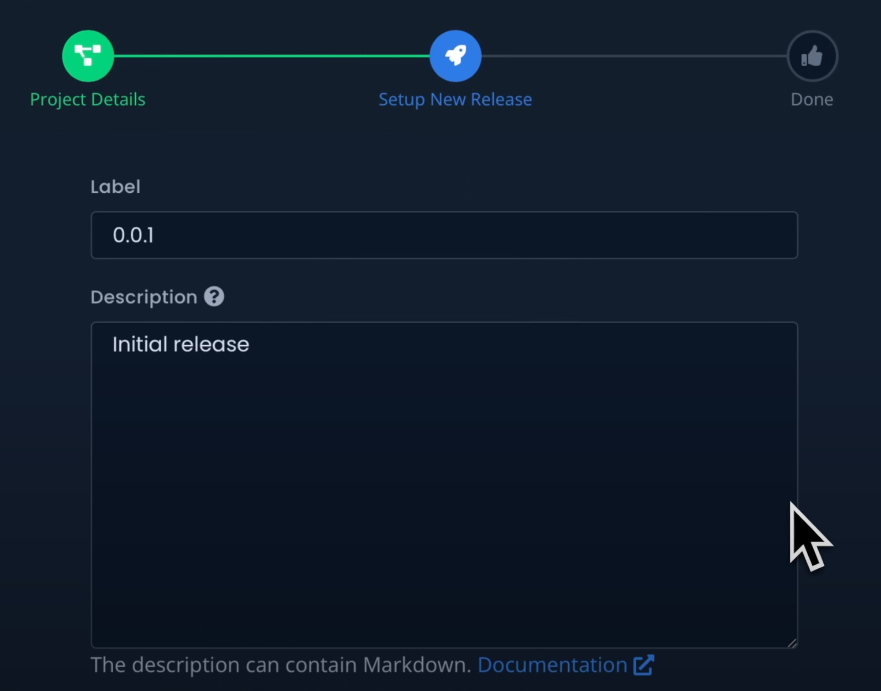
Step 4: Managing Game Releases
The platform’s new release creation screen is intuitive and user-friendly.
-
Release Details: Fill in the ‘label’ and ‘description’ fields, customizing them to reflect your game’s release specifics.
-
Platform Management: Provide download links for each selected platform. You can easily manage the availability of your game across different platforms.
Step 5: Complete the Onboarding Questionnaire
After creating your project, you’ll be guided through a brief onboarding questionnaire. Answer honestly — BetaHub uses your responses to recommend relevant resource articles and tailor your experience.
Step 6: Choose Your Integration
Before inviting testers, set up a way for them to submit bug reports. BetaHub offers several integration options depending on your game:
- Web game (HTML5/WebGL)? → Use the HTML Feedback Widget
- Native game (Unity/Unreal)? → Use the Game Engine Plugin
- Discord community? → Set up the Discord Bot
You can use multiple integrations simultaneously — many teams combine in-game reporting with the Discord bot.
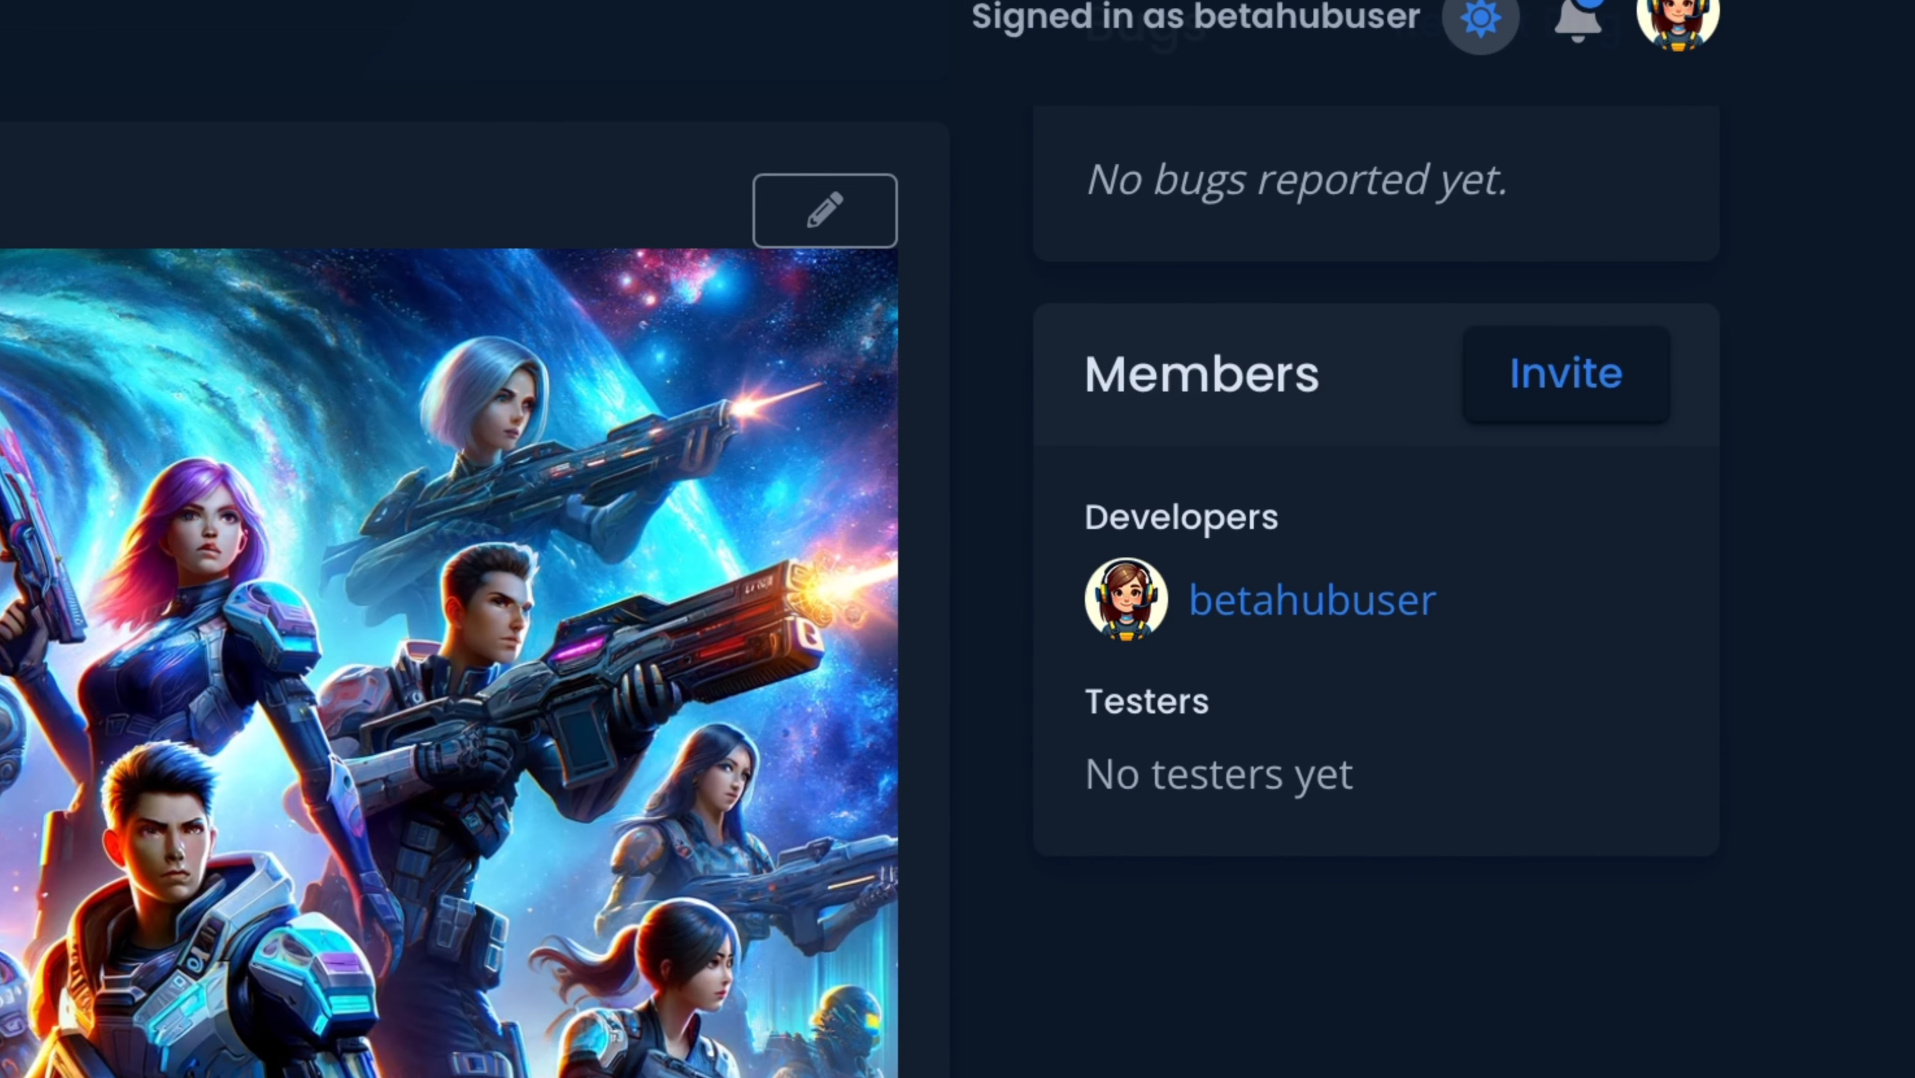
Step 7: Finalizing and Sharing Your Project
Once your project is set up, it’s time to make it known.
-
Share Your Project: If public, share your project’s URL with your community. For private projects, use the “Invite” button to bring in testers.
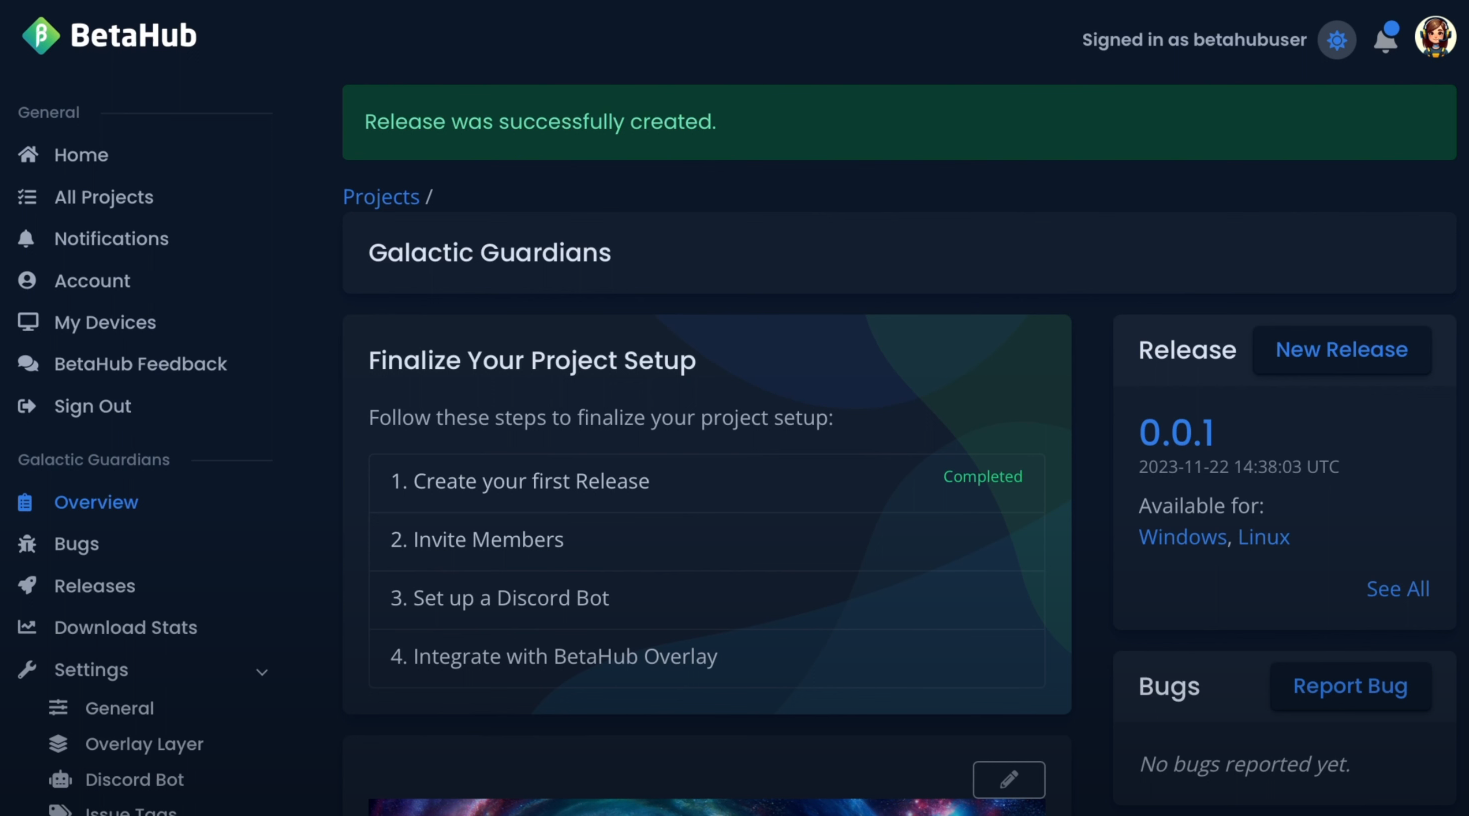
-
Finalization Guide: Don’t miss our project finalization guide, a concise summary of your next steps.
Join the BetaHub Community
By completing these steps, you’re now part of the BetaHub community, a place where every game developer and tester has a voice. Our community and support team are always here to assist.
Need Help? Join us on Discord or follow our channels for regular updates. We’re excited to see what you create with BetaHub. Welcome to the game development world!
Join for free today
Supercharge your team with the best bug tracking and player feedback tools. No credit card required, forever free.
Our Mission
At BetaHub, we empower game developers and communities with an engaging platform for bug submission. We foster collaboration, enhance gaming experiences, and speed up development. BetaHub connects developers, testers, and players, making everyone feel valued. Shape the future of gaming with us, one bug report at a time.


2026 © Upsoft sp. z o.o.